Green Screen Wizardry: Tips for Background Replacement
Green screens are becoming an essential tool for producing fascinating and immersive content in the world of visual storytelling. Green screens offer the enchantment of endless backgrounds, enabling you to take your audience to any setting, real or imagined, whether you’re a filmmaker, YouTuber, or virtual event presenter. However, achieving seamless background replacement is an art that requires some wizardry. In this article, we’ll dive into the world of green screen technology and provide you with valuable tips to ensure your background replacement is flawless.
Understanding the Green Screen Basics
Let’s start with the foundations before we explore the tips and tricks.

Describe a Green Screen
A green screen is a consistently colored background that is frequently used in the production of videos and movies. Consistency in color is a fundamental component of a green screen, which makes it simple for post-production tools to differentiate the subject from the backdrop.
Why Green?
Green screens are preferred over other colors because they are the least likely to match the color of human skin or clothing. This minimizes the risk of parts of your subject disappearing when applying background replacement techniques.
Now that we’ve got the basics down, let’s explore the tips and techniques that will help you achieve a flawless green screen background replacement.
Proper Lighting is Key
Achieving Consistency
One of the most crucial aspects of green screen wizardry is lighting. To ensure a seamless background replacement, you need to light the green screen evenly without any shadows or hotspots. Use soft, diffuse lighting to minimize harsh shadows and maintain a consistent green color.
Lighting the Subject
Equally important is lighting your subject properly. Ensure that your subject is well-lit and matches the lighting conditions of the intended background. This will help make the composite look more realistic.
Source: Videomaker – The dos and don’ts of green screen backgrounds
Pay Attention to Camera Settings
Shutter Speed
Maintain a consistent shutter speed to avoid motion blur in your footage. Typically, a shutter speed of 1/50 or 1/60 of a second is ideal for video, depending on your region’s frame rate.
Aperture and Depth of Field
Use a smaller aperture (higher f-number) to increase the depth of field. This will help keep your subject and background in focus, enhancing the overall realism of the composite.
Source: PremiumBeat – The Basic Fundamentals of Lighting a Green Screen
Choose the Right Software
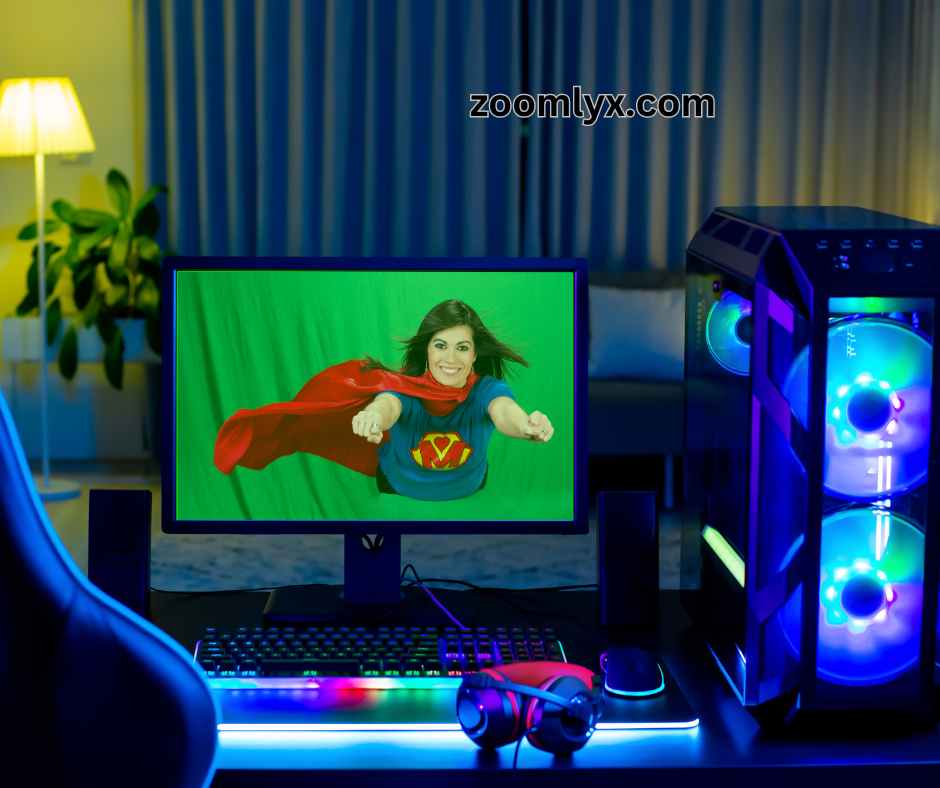
Professional Software
Invest in professional video editing software like Adobe Premiere Pro or Final Cut Pro. These tools offer advanced chroma keying options and more control over your compositing.
Simpler Options
If you’re just starting or working on a budget, there are simpler, user-friendly software options like OBS Studio or Filmora that can still yield good results.
Proper Wardrobe and Props
Avoid Green Clothing
Ensure that your subject doesn’t wear any green clothing, as it will disappear into the green screen. Similarly, avoid clothing or accessories that are reflective or too shiny, as they can cause unwanted reflections.
Contrast is Key
Choose a wardrobe and props that contrast with the green screen. This will make it easier for your editing software to differentiate between the subject and the background.
Fine-Tune the Keying Process
Chroma Key Settings
Take the time to adjust the chroma key settings in your editing software. Tweak the color tolerance, edge feathering, and spill suppression to get the best results. This step requires patience and experimentation.
Matte Cleanup
Use the matte cleanup tools to refine the edges of your subject, making sure there’s no green spill or fringing. This meticulous process can make a significant difference in the final result.
Frequently Asked Questions (FAQ)
Q1: Can I use any color for a background, or is green the only option?
Green and blue are the most commonly used colors for green screens, but you can technically use any color as long as it doesn’t match your subject’s clothing or skin tone. Green and blue are preferred because they are furthest from common human colors.
Q2: How do I avoid shadows on the green screen?
To avoid shadows, ensure even and diffused lighting on the green screen. Use multiple light sources to eliminate any shadows or hotspots. Soft lighting, such as softboxes or diffusers, can help achieve this.
Q3: Can I use a smartphone for green screen video production?
Yes, you can use a smartphone for green screen production, but bear in mind that the camera quality and setting flexibility may be inferior to that of professional cameras. You can still get good results, though, with the right software and lighting.
Q4: Are there alternatives to green screens for background replacement?
Yes, alternatives like blue screens and virtual sets exist. The choice depends on your specific needs and the colors used in your production. Green screens tend to be more versatile, but the selection should suit your project’s requirements.
Q5: How can I prevent my subject from appearing translucent or fuzzy after background replacement?
To prevent translucency or fuzziness, ensure that your subject is well-lit and that your green screen is evenly lit without shadows. Also, pay attention to the chroma key settings and matte cleanup during the editing process.
Bottomline
In the world of video production, green screen wizardry opens up a realm of creative possibilities. By mastering the art of green screen background replacement and following these tips, you can transport your audience to any location, era, or universe, making your content truly magical and immersive. Remember, practice makes perfect, so keep experimenting and refining your skills to achieve seamless results in your green screen productions.


